Re-engaging Through Sponsored Messages


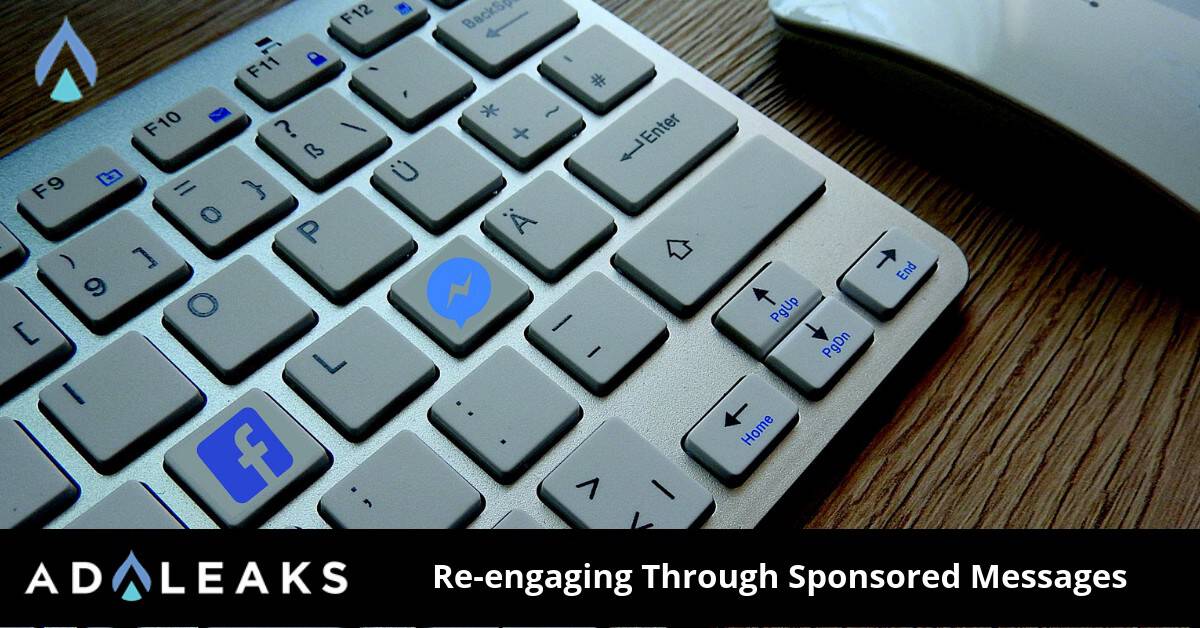
In 2017, Facebook introduced sponsored messages as a way to supplement an advertiser’s Click-to-Messenger ads. These are used to start conversations with prospects and re-engage potential customers. A recent Facebook study showed that 73% of customer prefer talking to businesses via live chat and 53% of people are more likely to shop with a business they can message directly.

What is a Sponsored Message?
Sponsored Messages are ads that you send to people via Messenger. Sponsored messages can be directed towards leads or customers who have engaged with you in the past. Furthermore, the message will enable you to send relevant offers, promotions or business updates directly to a person’s inbox.
A “Sponsored” label is seen once the chat is opened by the recipient. You will not see a sponsored label in the Messenger home screen. Therefore, it appears like every other conversation in a message list.
When do you use Sponsored Messages?
This ad format is ideal if you have already connected with a prospect or a customer on Messenger through a bot or live chat support. It's best to use ad messages when your goal is any of the following:
- Nurture existing relationships. Send relevant offers, updates, and other promotional contents.
- Re-engage with customers who left the conversation with your bot.
- Drive existing customers to a specific feature or product within your bot.
How to Create Sponsored Messages Using Ads Manager.
1. Click the green Create Ad button.
2. In the Consideration column, select Messages.
One message will be delivered to one person, per ad set. If you want to deliver multiple messages per person, select Create Multiple New Ad Sets at the top of the Ad Set section.
3. Under Message Destination, select Messenger. Click the drop-down menu under Messenger and select Sponsored Messages.
4. Proceed to Audience. Then choose either to Create New Audience or Use Saved Audience.
A custom list of the audience will be created automatically. The list includes people who had interactions with you via Messenger. If you want to add additional targeting, select Show Advanced Options. Take note that the audience size must be at least 20 people.
5. Choose your Budget and Schedule.
The minimum bid varies per country. You can see a recommended bid in the Bid Strategy section. Your ad account will be charged for an impression when someone sees they have a message from you in their Messenger inbox.
In this part, select Run ads all the time because sponsored ad messages do not support ads scheduling. Most importantly, delivery is from 24 hours to 5 days, after the start of your campaign.
We're halfway there!
6. In the Message setup section, choose either Text Only or Text & Image. Next, type your message and attach any images if applicable.
7. You can add quick replies and other buttons to your message under Custom Actions.
8. Under Page & Links, select your Facebook Page where the ad campaign will be connected to.
9. Click on Review Order to ensure everything is complete and correct.
10. Click Place Order to complete your ad order. From there, start tracking the progress of your Messenger sponsored ad.
In Summary
In conclusion, posting a compelling ad is just one piece of the puzzle. Giving a boost on the post-click experience of your prospect is the final piece. In some instances, leads forget to follow up so keeping them engaged is crucial. Sponsored Messages make it easier for you to reconnect with your prospect, drive traffic, and gain more conversions.


