Messenger Bot + Black Friday = More Sales!


Being a business owner or Facebook ads buyer, you know that Black Friday is the single most profitable day in Q4. But, in the spirit of greed and consumerism, I’m here to teach you how to further maximize your Black Friday revenue using a Messenger bot.
Specifically, I’ll show you how to implement a countdown timer within your Messenger bot that will instill a sense of urgency in your potential customers. Translation? More sales!
STEP #1: Create a new bot
Go to Chatfuel.com, log in using Facebook, then click the orange 'Create a new bot' button.
STEP #2: Remove placeholder content
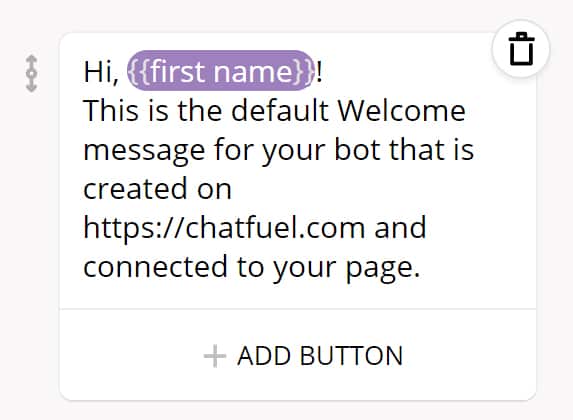
We should build this bot from scratch, so first let's delete the contents of each block…
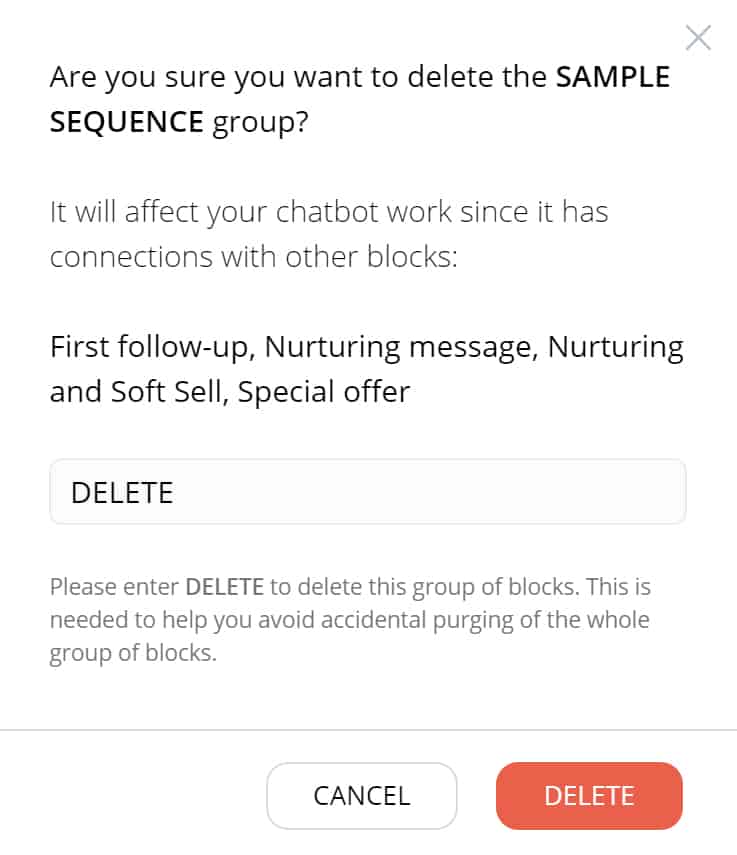
After that, we can trash the 'Sample Sequence' and 'Group of Content Blocks' groups.
STEP #3: Map out your conversation
It's crucial at this stage that you have a clear understanding of your call-to-action. While it’s easy to get caught up in the details of designing your user experience, you can't lose sight of the end goal – a sale!
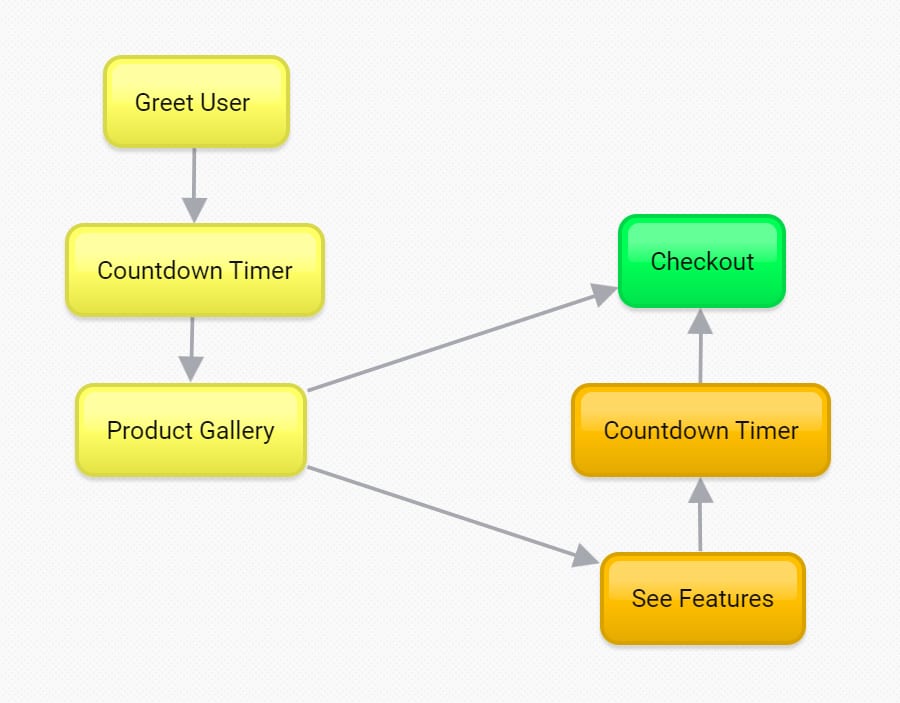
STEP #4: Build flow in Chatfuel
Now let's recreate our mind map, using text & gallery cards and typing animations.
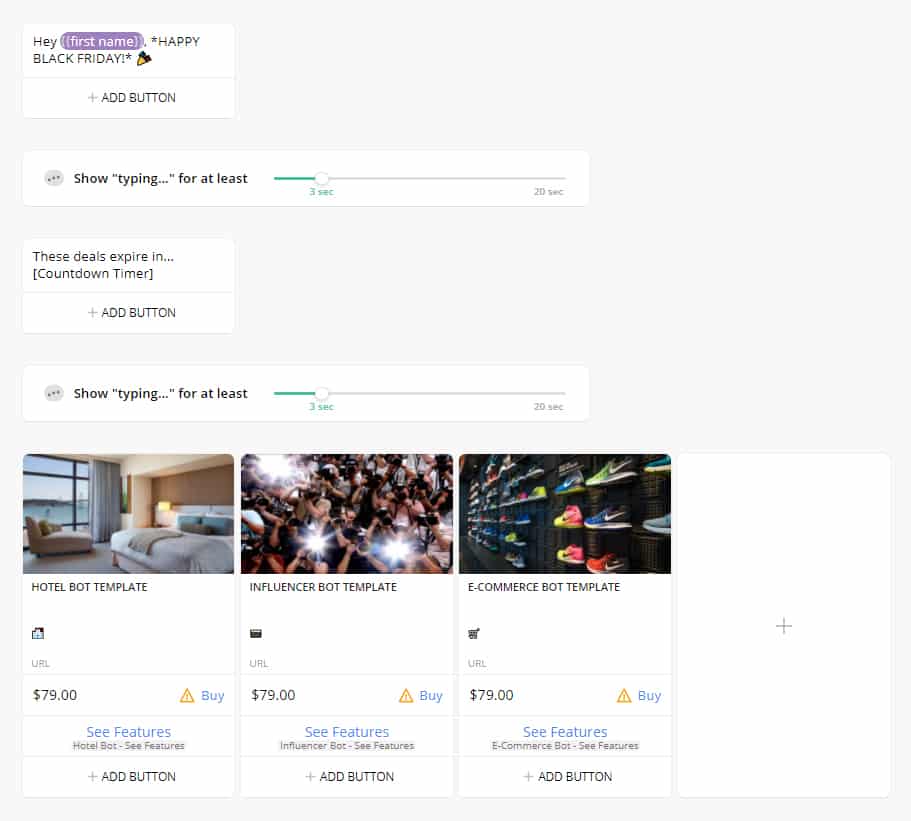
Additionally, I'll create a new block for each of the three Messenger bot templates. This is where users who click the 'See Features' buttons on the previous carousel will be redirected, depending on which template they chose.
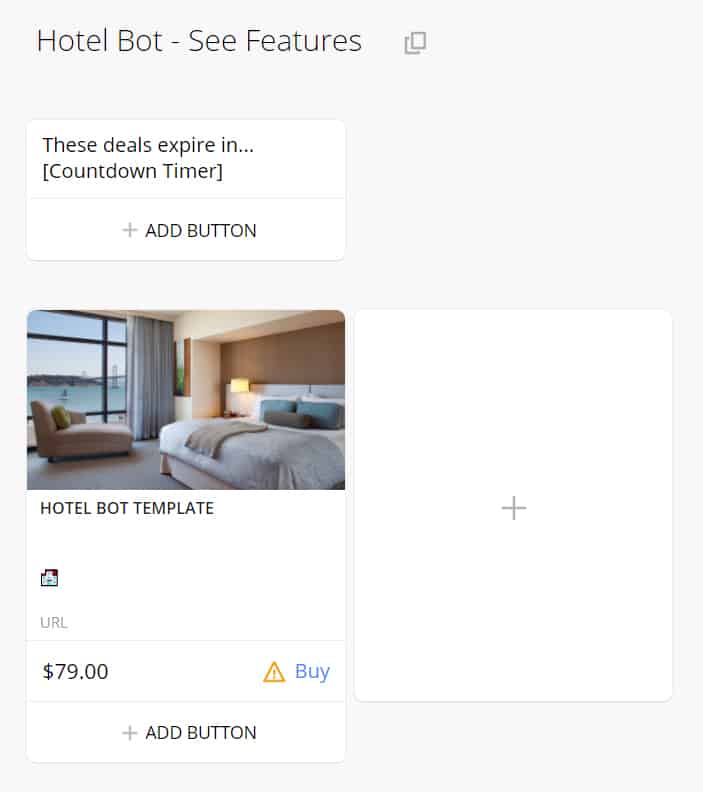
STEP #5: Enabling Stripe payments
Before configuring the countdown timer, let’s get rid of this error…
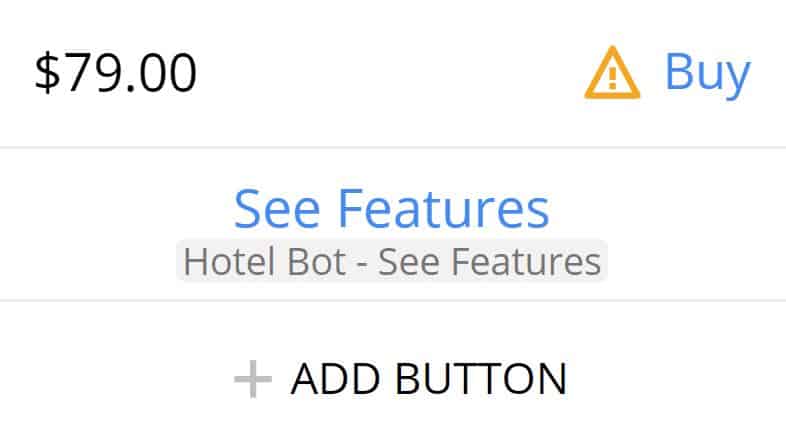
Head into the CONFIGURE tab of your Chatfuel dashboard, then scroll down to 'Payments' and go through the Stripe setup wizard.
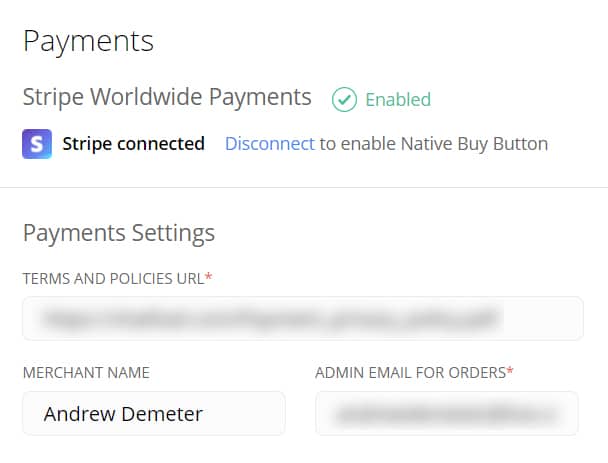
(NOTE: If you don’t use Stripe, replace the Messenger-native 'Buy' buttons with a link to your PayPal account or website's checkout page.)
STEP #6: Adding JSON code
Next, let's replace the countdown timer placeholder text with custom code. This will enable our Messenger bot to fetch the current time and tell the user how much time is left until the deal expires.
To do this, add the JSON API plugin above the placeholder text. Then copy and paste the following endpoint into the URL field: http://45.55.153.29/time-until.php?&futureDate=2017-11-24%2024:00:00&botTimezone=-4.
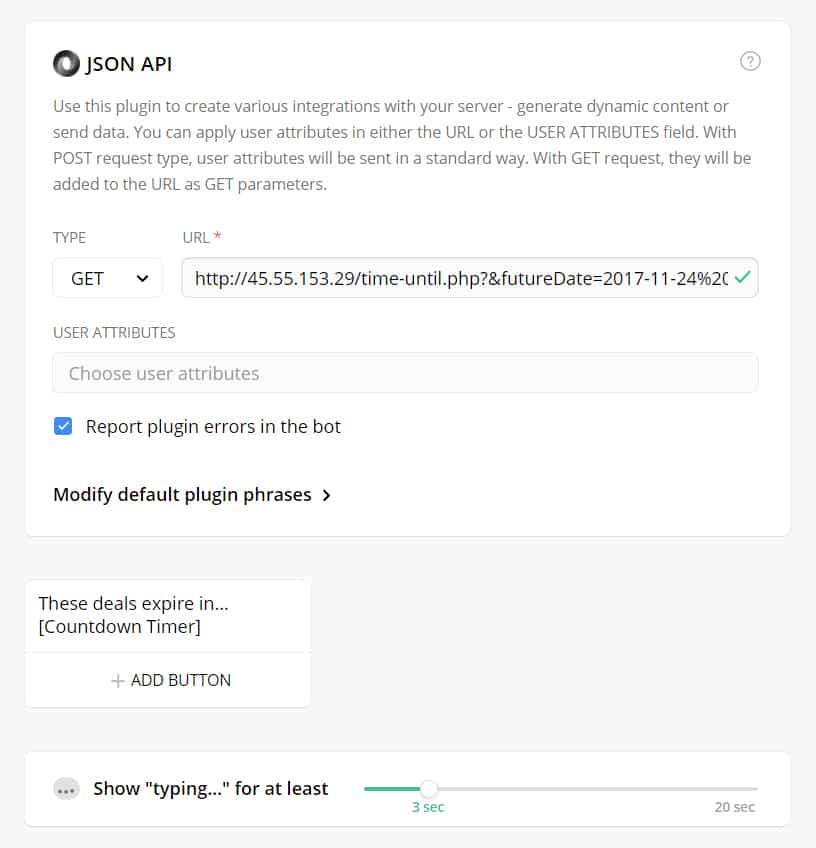
We’ll also need to replace the "[Countdown Timer]" text with a user attribute (a.k.a. variable) that the server will dynamically fetch for us. This is done by surrounding the name of the variable in two curly braces: {{timeUntil}}.
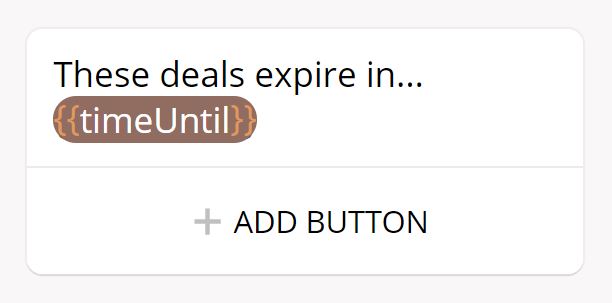
And here's the result…
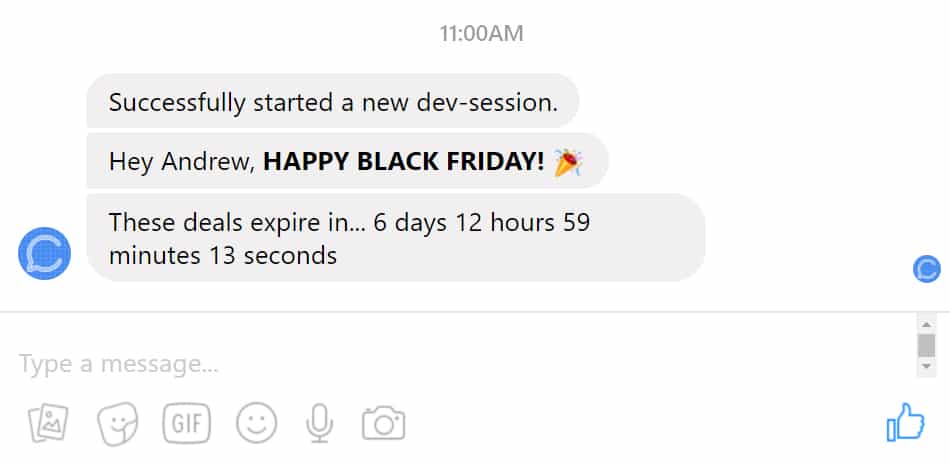
STEP #7: Manually modifying dates & time zones
The endpoint pasted above might seem confusing, so let's break it down!
The base URL is: http://45.55.153.29/time-until.php?
The &futureDate= parameter accepts the future date to which you're counting down. For example, &futureDate=2017-11-24 24:00:00 will calculate the time until November 24, 2017 at midnight.
Finally, the &botTimezone= parameter accepts the time zone in GMT that will be used to calculate the time until your future date. For example, &botTimezone=-4 will use EST when calculating the time until the future date.
Here’s a useful resource for determining your current GMT time zone.

(NOTE: It’s best practice to paste your modified endpoint into your browser to confirm it's calculating the time as expected.)
STEP #8: Dynamically replacing users’ time zones
Let's imagine you own an international e-commerce business. You're running Black Friday deals in your Messenger bot, but you don’t want to set a deadline based on a single time zone because other customers might just be waking up and miss out.
Say we want to run an exclusive offer between 9:00am and 5:00pm for each user, taking into consideration their individual time zone. Here's the solution…
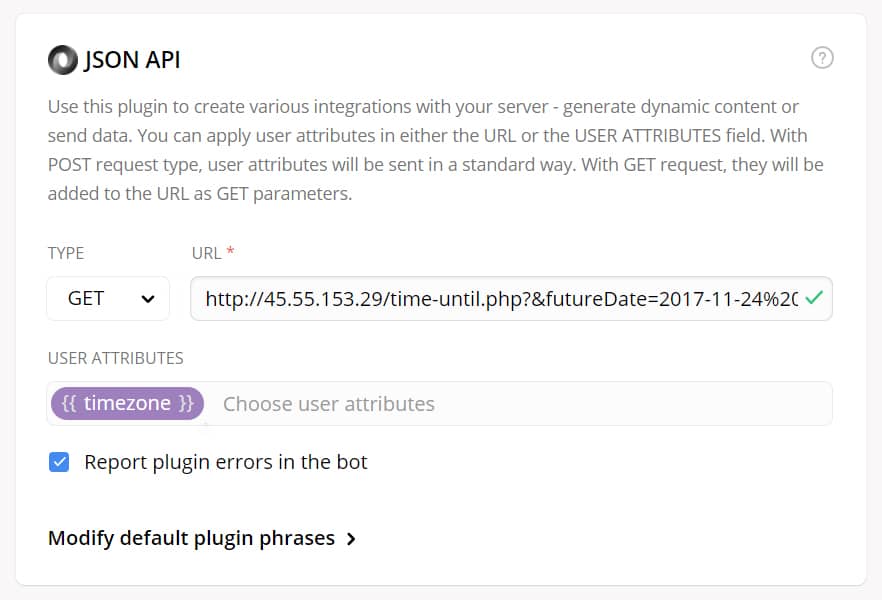
What we're doing here is adding Chatfuel’s built-in {{timezone}} user attribute (which returns an integer value that is the user's GMT time zone) and modifying the endpoint to dynamically substitute that value: http://45.55.153.29/time-until.php?&futureDate=2017-11-24%2024:00:00&botTimezone={{timezone}}.
Now a user in California (where it’s 10pm and still Black Friday) can access our deals, whereas a user in New York has already exceeded our countdown timer.
STEP #9: Restricting access to products
Up until now, we've only created a countdown timer. While this feature is key in manufacturing a sense of urgency to buy our products, it doesn’t actually prevent users from accessing them in Messenger.
Thankfully, Chatfuel has an elegant solution – the GO TO BLOCK plugin.

Directly under the JSON API plugin, add a GO TO BLOCK. Again, this tool enables us to direct users to specific content based on certain conditions they embody (user attributes). In this case, we want to redirect users to a block, which tells them the Black Friday deals have expired, if the deadline in their time zone has passed.
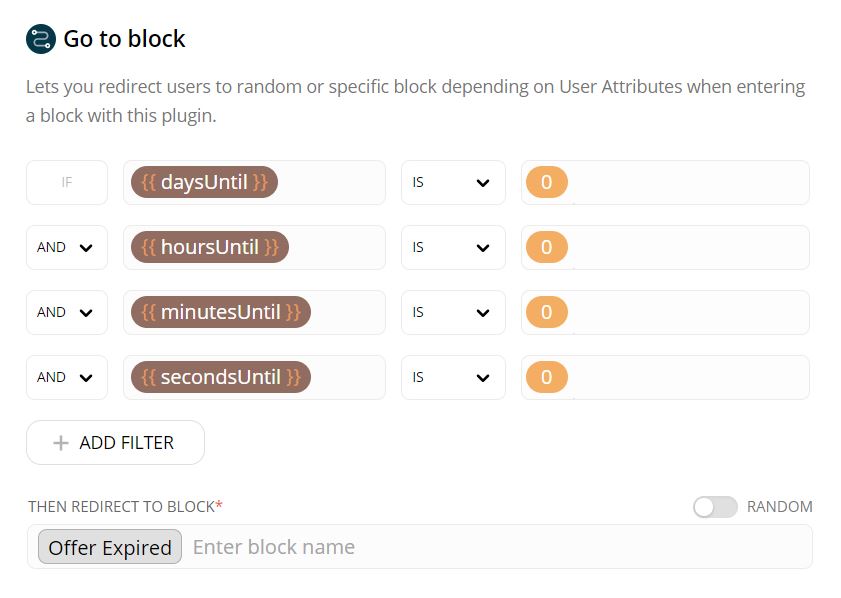
Make sure to repeat this process on the 'See Features' blocks, too. Using the JSON API plugin, you always want to call the server to fetch and check each user’s current time before granting them access to your products.
STEP #10 (optional): Set up retargeting
Finally, increase conversions within your Messenger bot by retargeting users who abandon their cart. This tutorial explains everything you need to know!
Conclusion
Facebook Messenger bots will eventually flood the mass market, but using advanced server-side logic – such as a countdown timer – will certainly distinguish between average and exceptional conversion rates.
I'm wishing you a happy & profitable Black Friday, and I can't wait to see your results!
Chat soon,
Andrew Demeter
(Hats off to Pat Friedl, my unofficial dad, for writing the brilliant JSON script we're using!)


